I'd like to take a moment to get on my soap box: Why are artificial Christmas trees $300 or more? Are you people crazy?! That said, I hunted for my larger tree on Craigslist. Ha! After about a week or so of hunting, we bought a 7.5 foot Christmas tree for $35.
When we got it home, I wanted to put it together to a) revel in my thrifty, money-saving prowess and b) make sure I had all the pieces. After nearly two and a half hours of sorting through color-coded branches, I finally got that darn thing up and it was huge.
After seeing how fat and round the bottom of my new tree was, I knew my old, dinky tree skirt wouldn't even be visible. I needed a tree skirt that was 56" or bigger for this tree and those aren't cheap either at $60 or more.
The motto for this tutorial? Look for it on Craigslist. If you can't find it on Craigslist, make it.
Quick note: I purchased a 60" round tablecloth to use as the base of my tree skirt. It was cheaper than purchasing burlap fabric at the store. Plus, it saved me time from having to sew and hem the edges. The diameter of my tree is 55 inches. Here's how I made my 62" no-sew tree skirt:
Round Tablecloth
Paper Plate
Scissors
6" Burlap Ribbon (I used about 100 yards)
Hot Glue Gun
Glue Sticks
String
Large Threader Needle
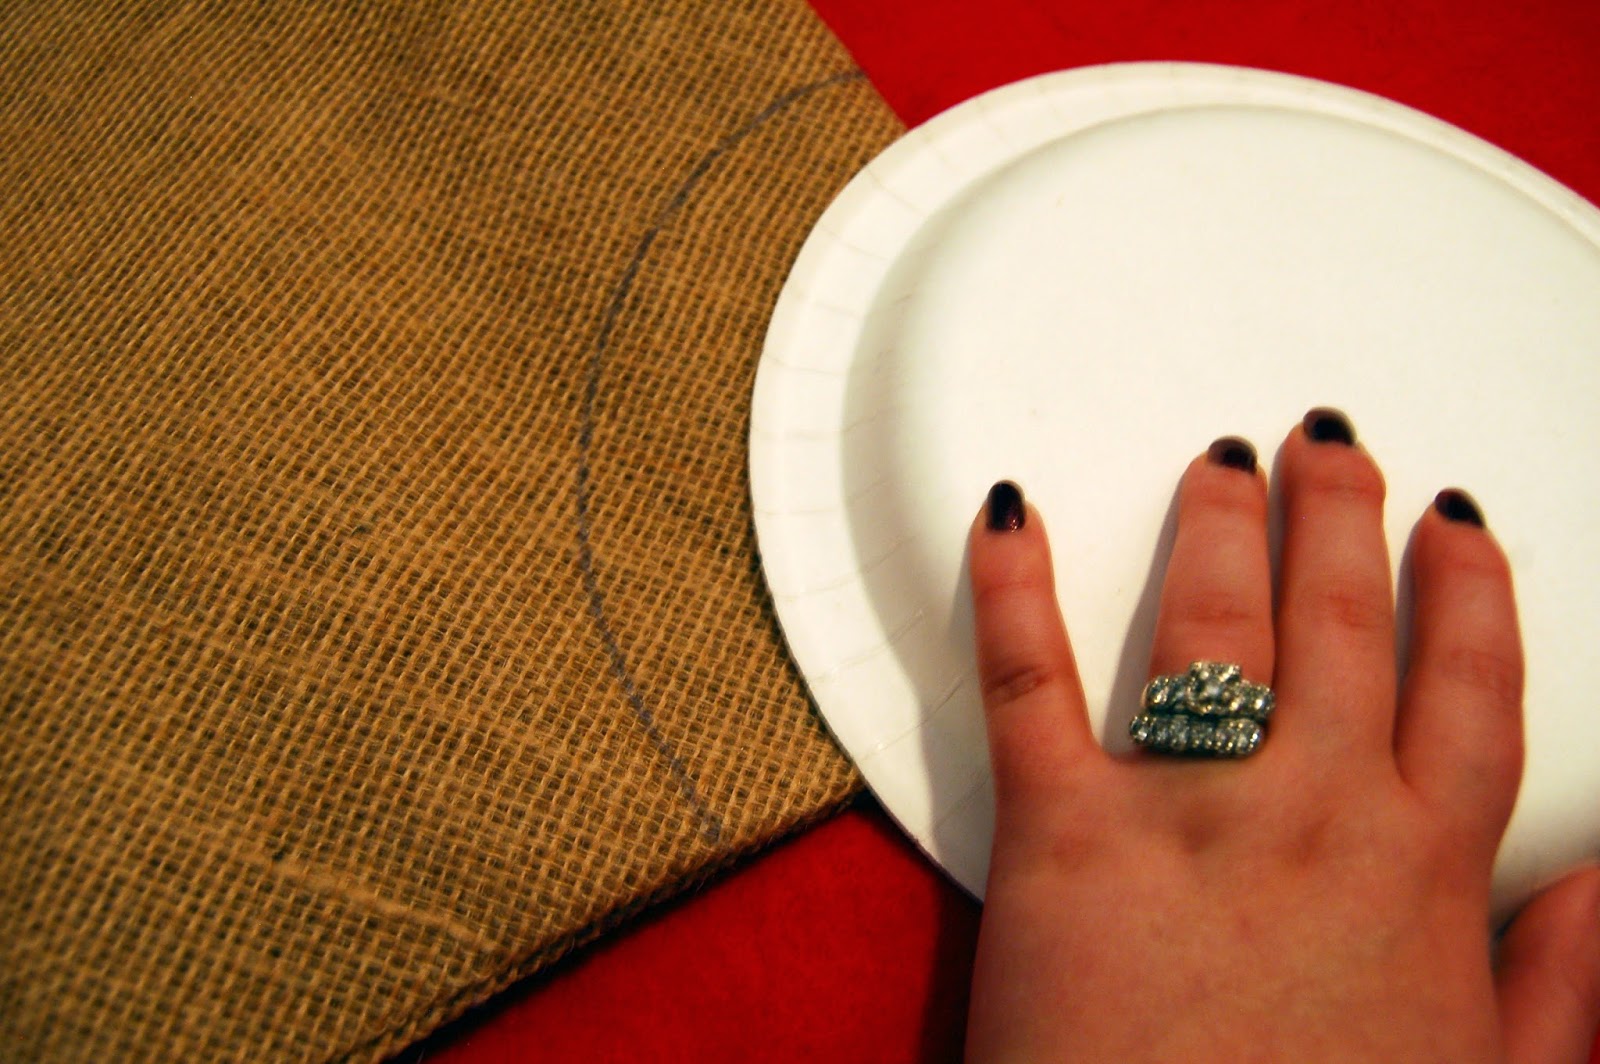
Step One. Fold your tablecloth into quarters. Using your paper plate as a guide, trace a quarter circle on the folded tablecloth corner. Cut along your traced line.
Step Two. Gather your burlap ribbon to make the ruffle. To do this, thread your string (yarn would work just as well) through the burlap using the large threader needle. {Note: Initially, I tried using regular thread, but it wasn't heavy duty enough to pull my burlap ribbon into a ruffle with.}
Gather your burlap ribbon on the string to create the ruffle. You'll have to do this with each roll of your burlap ribbon.
Step Three. Once your burlap ribbon is all gathered and ready to go, simply glue the gathered edge around tablecloth hem. {Another perk to using the tablecloth - you don't have to worry about the glue seeping through the burlap! Just keep the glue on the hem.}
I didn't make an opening for my tree skirt. I like the solid, uniform look of my tree skirt. I just laid it over the top of the tree stand and then assembled the tree. To create an opening, simply cut a straight line from your hem to your middle.
In total, I spent about $25 on this tree skirt.
As for the super-sized Christmas tree I bought on Craigslist? After it took so long to put together, I didn't bother taking it down. It has lived displayed in all its undecorated glory in the corner of our bedroom for the last month. However, as soon as November rolled around, I got that thing out of there so it could breath with its pretty, new tree skirt.
This means I can get all of my other Christmas decor out, right? Oh Christmas, how I love you.
Happy creating!
Miranda


No comments:
Post a Comment