August 27, 2014

How To Print on Paper Bags


I've been on a mission to develop a strong brand for PaperLark Studio. With the holidays quickly approaching, I have really been focusing on branding my packaging. I have a handful of craft shows coming up and have seriously depleted my supply of the smaller paper bags I use for my cards, tea towels and such. To support my branding efforts, I knew I wanted my logo on the new paper bags somehow, some way.

However, I was a little apprehensive about running them through my own printer. My last attempt at this had not gone so well. I tried to run white bags through my printer for a wedding customer...Yeah, bad idea. Why I thought running white bags through a printer full of ink residue was a good idea, I still can't explain. Not to mention, it tore the bag to shreds. Live and learn though, right? I ditched that idea and ended up just printing labels to put on the bags.

This time around, I learned some very valuable tips for successfully printing on paper bags using your own printer. First and foremost, don't use white bags. Ha! But, seriously, once you get a hang of it, it's a piece of cake.


What You'll Need
Paper Bags 
Washi Tape
Scissors
Printer full of ink

Tip: Use a heavy-weight paper bag. I used gift sacks which are a thicker weight than your run-of-the-mill lunch sack. I found that my printer liked these better.


Step One. Secure your bag with small pieces of washi tape. You can see from the picture where I secured my bag. The goal here is to tape down any and all places where the bag might catch in the printer. Why washi tape? Because it's easy to remove from the paper bag and won't tear it. You can certainly use regular tape, but washi is my go-to favorite. 

Step Two. Get ready to print your image. I usually use Picasa to print my items. I find it's the most user-friendly printing/image editing software. (You can download Picasa for free here) Be sure to format your print setting to fit the size of your bag! That way it'll print front and center. Depending on your printer, feed your bag appropriately into the printing tray. 


Step Three. Print your bag! You may need to gently guide your bag into the printer to help it feed through smoothly. Don't expect your first bag to come out perfect. It's a process of trial and error so know you'll use one or two bags for experimenting. If your bag catches in the printer, pull it out and figure out where it got caught so you can tape that down on your next bag.  


Out of 24 bags, I trashed two before I figured out my groove, but I think the result was worth it. I now have 22 awesomely branded paper bags ready to go home with customers. 

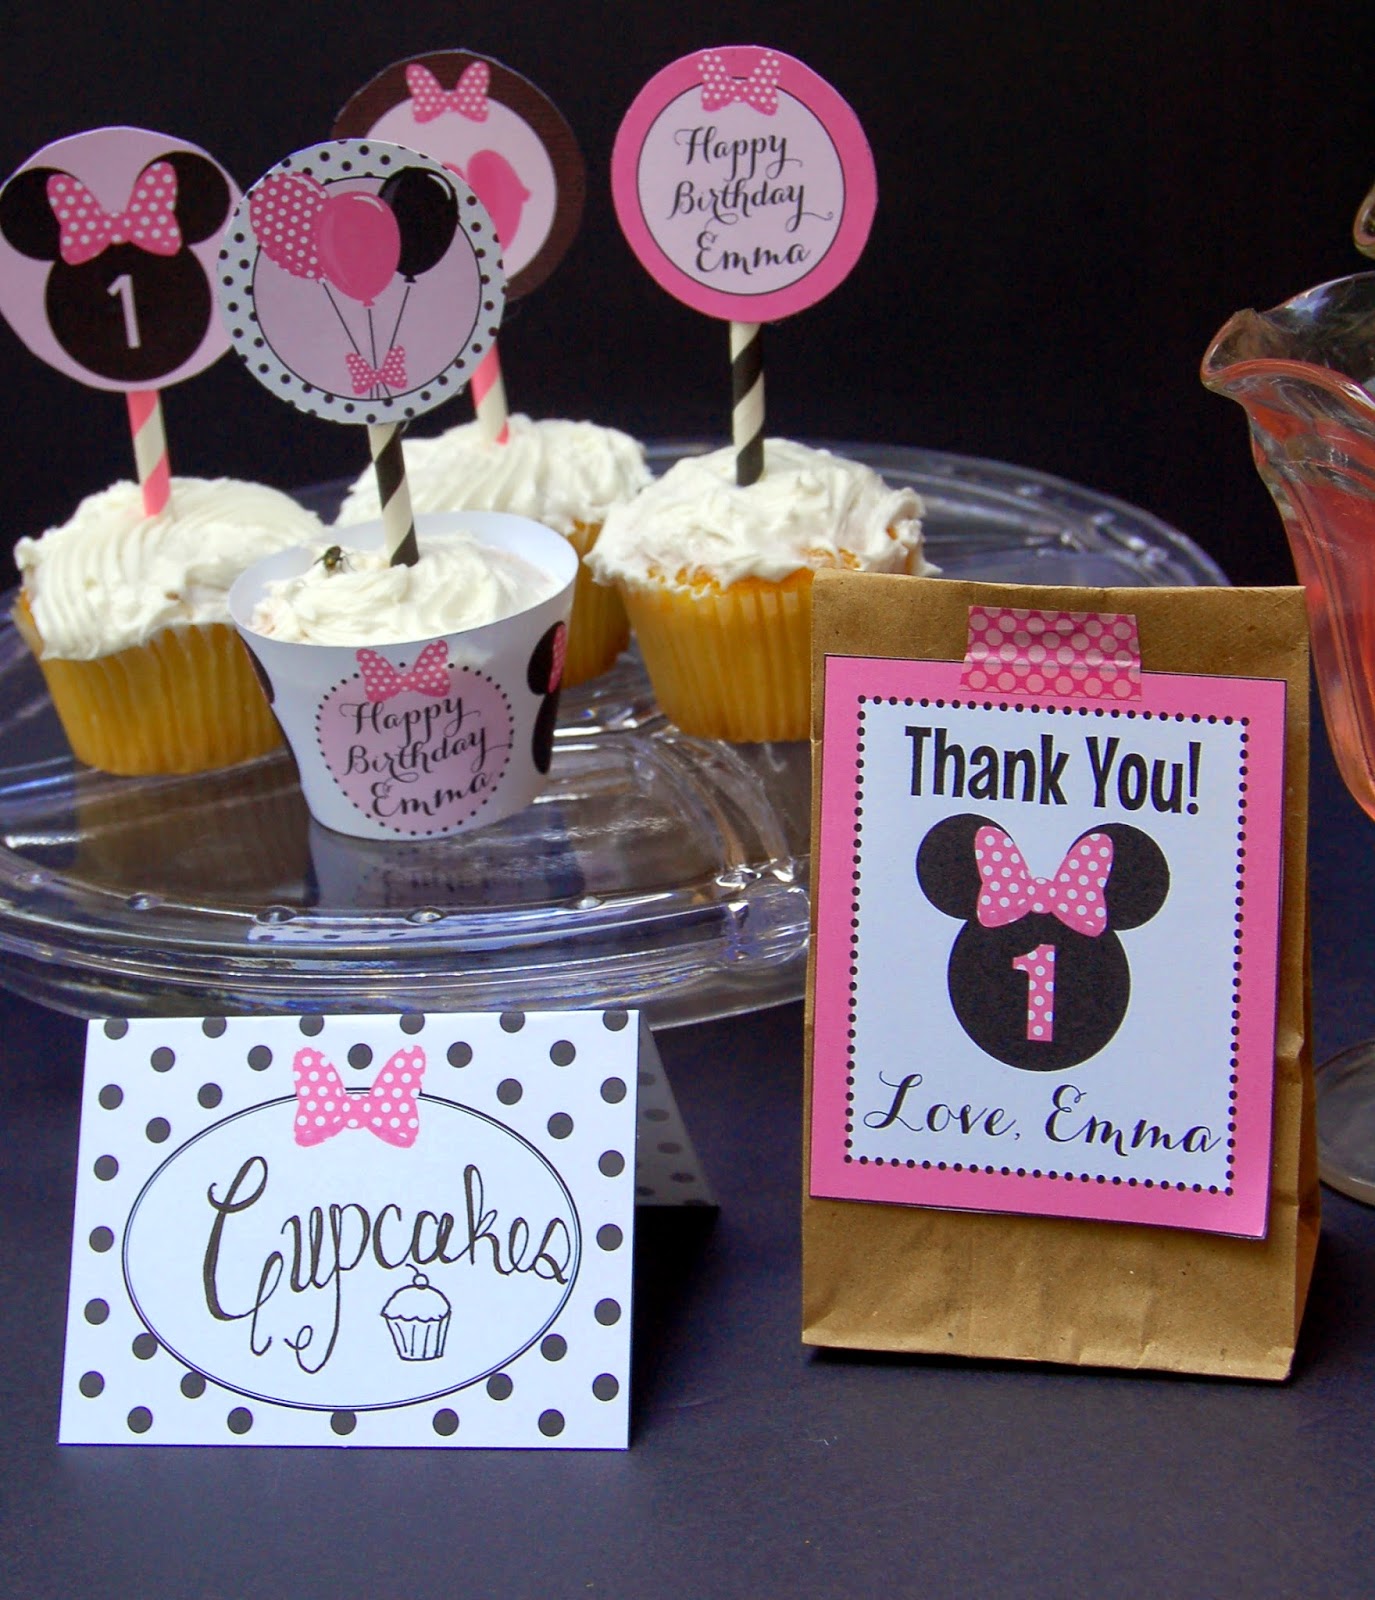
Of course, you can print paper bags for just about anything - birthdays, weddings, gifts, etc.

Happy printing!
Miranda


August 25, 2014

New Blog Design + New Minnie Mouse Party Package

Happy Monday!

Besides that it's the beginning of a new week, there's lots of new (and equally exciting) things going on in the studio today. In case you don't frequent my little piece of the blogosphere often, I'm debuting a new blog design! It's so much more professional and aligns nicely with my brand, don't you think? Hopefully, it will be easier to navigate as well.

In between designing some holiday-themed goodies, I've finally managed to complete my Minnie Mouse inspired party package that coordinated with my ever-popular Minnie Mouse birthday invitation.


In the past, I've only offered non-personalized, instant download party packages. However, my business has evolved and these impersonal package downloads just weren't fitting my brand or my style. A large part of what I love about my job is working closely with a customer to create something special and custom that they absolutely love. With completely customizable party packages, I can add that element of specialty design that my brand is all about.


Another thing I'm all about is simplicity. Thus, every customer will receive thorough assembly instructions as well as a suggested "materials needed" list.

What's included in the package? Food tents, personalized cupcake wrappers, personalized favor tags, personalized cupcake toppers, personalized water bottle labels, personalized juice box labels, personalized thank you notes, straw flags and a coordinating banner with all letters of the alphabet so you can spell whatever you heart desires. Woosh! That was a mouthful!


On Friday, I braved 100 degree weather to snap some shots of the party package all assembled! I have to say, I'm pretty proud of how it turned out. Take a look!


Now then! I don't believe in printing out all these samples and then tossing them. That's a waste! Emma's mommy was kind enough to let me use her name for the invitation and party package. As a thank you, she will have all of these customized goodies to help her celebrate her first birthday next year.

If you'd like to nab this party package for your little one's big day, use the coupon code MINNIE to receive $5 off your purchase of $25 or more! {Expires 09.08.14}

Toodles!
Miranda  


August 20, 2014

DIY Koozie Tutorial


I seriously enjoyed Mug Swap 2014 so much! (Don't know what that is? Check it out here.) On Monday, I shared the recipe for my coffee sugar scrub. Today, I thought I'd share my tutorial for the koozie I made to compliment the coffee mug I sent off to my Mug Swap friend. 

She's really big into sewing and I hope she doesn't judge mine too harshly! Thankfully, these are pretty simple to make and I feel pretty confident she'll love it. 

What You'll Need  


- Fabric
- Interfacing
- Two buttons
-Thread
-Elastic
- Pins
- Scissors
- Paper and Pencil
- Sewing Machine

Note: I used a mint-colored flannel because I thought it'd give a nice cozy feel for my koozie. You can make this with a fat quarter or some scrap fabric. It doesn't take much at all. Also, I recommend using thin elastic!

Step One. Make a template for your koozie. I used this technique from Make It & Love It to create my template. Before cutting, I suggest wrapping your template around your cup to make sure it fits just like you want it. Once you have your template, pin it to your fabric and cut two pieces. Use your template to cut a piece from the interfacing as well - trimming it so it's a tad bit smaller than the fabric pieces.


Step Two. Sandwich the interfacing between your fabric pieces.


And you will have this...


Note: Because I used flannel, I didn't have to worry about if anything was the right side. If you are using fabric with a pattern on one side, you'll need to piece your sandwich together so that when it is turned inside-out, the pattern side will be facing outward.

Step Three. Stitch one width and both lengths around, leaving one width side open. Cut two 2" pieces of your elastic and make loops with each. You only want to sew the elastic to one piece of flannel so be sure to roll the under side down. Secure the elastic loops by sewing generously over them.  


Step Four. Roll the open width end into itself to close and sew shut making sure your elastic is poking through. Then, hand-stitch the two buttons onto the width end without the elastic. 


Ta-da! You've got yourself a cozy coffee koozie! I told you it was easy. These would make a wonderful gift for any coffee or hot tea lover.

Happy creating!
Miranda


August 18, 2014

Coffee Sugar Scrub Recipe

After posting the picture below on Instagram last week, I received a slew of requests for the coffee sugar scrub recipe. I created the recipe specifically for Mug Swap 2014 which I posted about here


I looked at several recipes and even experimented with some on my own. Using bits and pieces from the recipes I collected, I created my own! 


Coffee Sugar Scrub

1/2 cup of ground coffee
1/2 cup of sugar
1/4 cup of olive oil 
1/2 tablespoon of cinnamon
1/2 tablespoon of nutmeg

1) Mix the coffee, sugar, cinnamon and nutmeg together in a bowl.
2) Pour in the olive oil and mix with a fork.
3) Spoon into an air-tight container and seal.

The texture should be grainy, but not dry to the touch. It will keep for a few weeks if kept tightly sealed. Makes about 6 oz.

From my research, coffee sugar scrub is very good for your skin. The caffeine in the coffee helps to reduce the appearance of cellulite. The sugar is an excellent exfoliant and the oil helps replenish moisture in your skin. 


For my Mug Swap friend, I wrote the recipe for the scrub on the back of the tag. I promise I used fresh coffee grounds for her scrub, but I did see a couple of people using already-been-brewed coffee grounds to make their scrub. Maybe it's worth a try? I'd suggest making sure they were good and dry again before putting them in your scrub if that's the route you want to go. 

Happy scrubbing!
Miranda


August 14, 2014

#MugSwap14


I'm so thrilled to have participated in Mug Swap 2014 hosted by A Cuppa Kim. It only happens once a year and is almost as exciting as Christmas. After sign ups have closed (and it goes quickly!), you receive a name, address and description of another participant to send a mug to. 

The fun part? It's a secret who you have and it's a secret who has you. That said, I can't divulge my mug recipient just yet. All I'm going to say is this happy mail is going to find a new home in Tennessee when I mail it out tomorrow. I hope she absolutely loves it and gets just as much joy out of it as I did putting it together. 

You ready to see what's inside?


My recipient loves bright colors and I'd like to think I nailed it with this red mug and Robin's Egg blue coozie. Of course, what's a mug swap without something to go in the mug?! I added a bright red package of freshly ground hazelnut coffee. After my friend gets done marking off her to-do list on the pad I included, she can get her spa experience on with my homemade coffee sugar scrub. 

Can you believe I hand lettered the coffee sugar scrub tag all by myself? I can't! I'm pretty darn proud of it. I also handmade the koozie. I will be posting the recipe for the coffee sugar scrub and a tutorial for the koozie. Be on the lookout for those next week!

UPDATED: Links to both the coffee sugar scrub recipe and the koozie tutorial have been added!

Until then, 
Miranda

August 4, 2014

Back to School Printables Round Up

Happy Monday!

Several of the counties in our area went back to school today. Call me crazy, but I really miss school! The excitement of a new year, a book bag full of school supplies waiting to be used, a closet full of new clothes ready to be worn and getting to see friends after a summer. Not to mention, I was a kid and all of that was bought by my parents - not me. Ha!

While I have no kids heading back to the grind yet, I've run across some free printables that would get the school year started off right!


Enjoy!
Miranda


Related Posts Plugin for WordPress, Blogger...
Powered by Blogger.
Designed By Boutique-Website-Design